*Warning!* I do not refer anything unless I absolutely love it, and I have not been paid to write my opinion in any way. These are just great products that I believe in and use often. This blog contains referral links, so if you click and purchase any of these products, it directly helps me as an artist in a small way – win/win! :)
All my coloring enthusiasts, art lovers and colorist fans- If you haven't tried Derwent Inktense pencils, it is time (And YES you can get them on Amazon Prime - free one day shipping!)
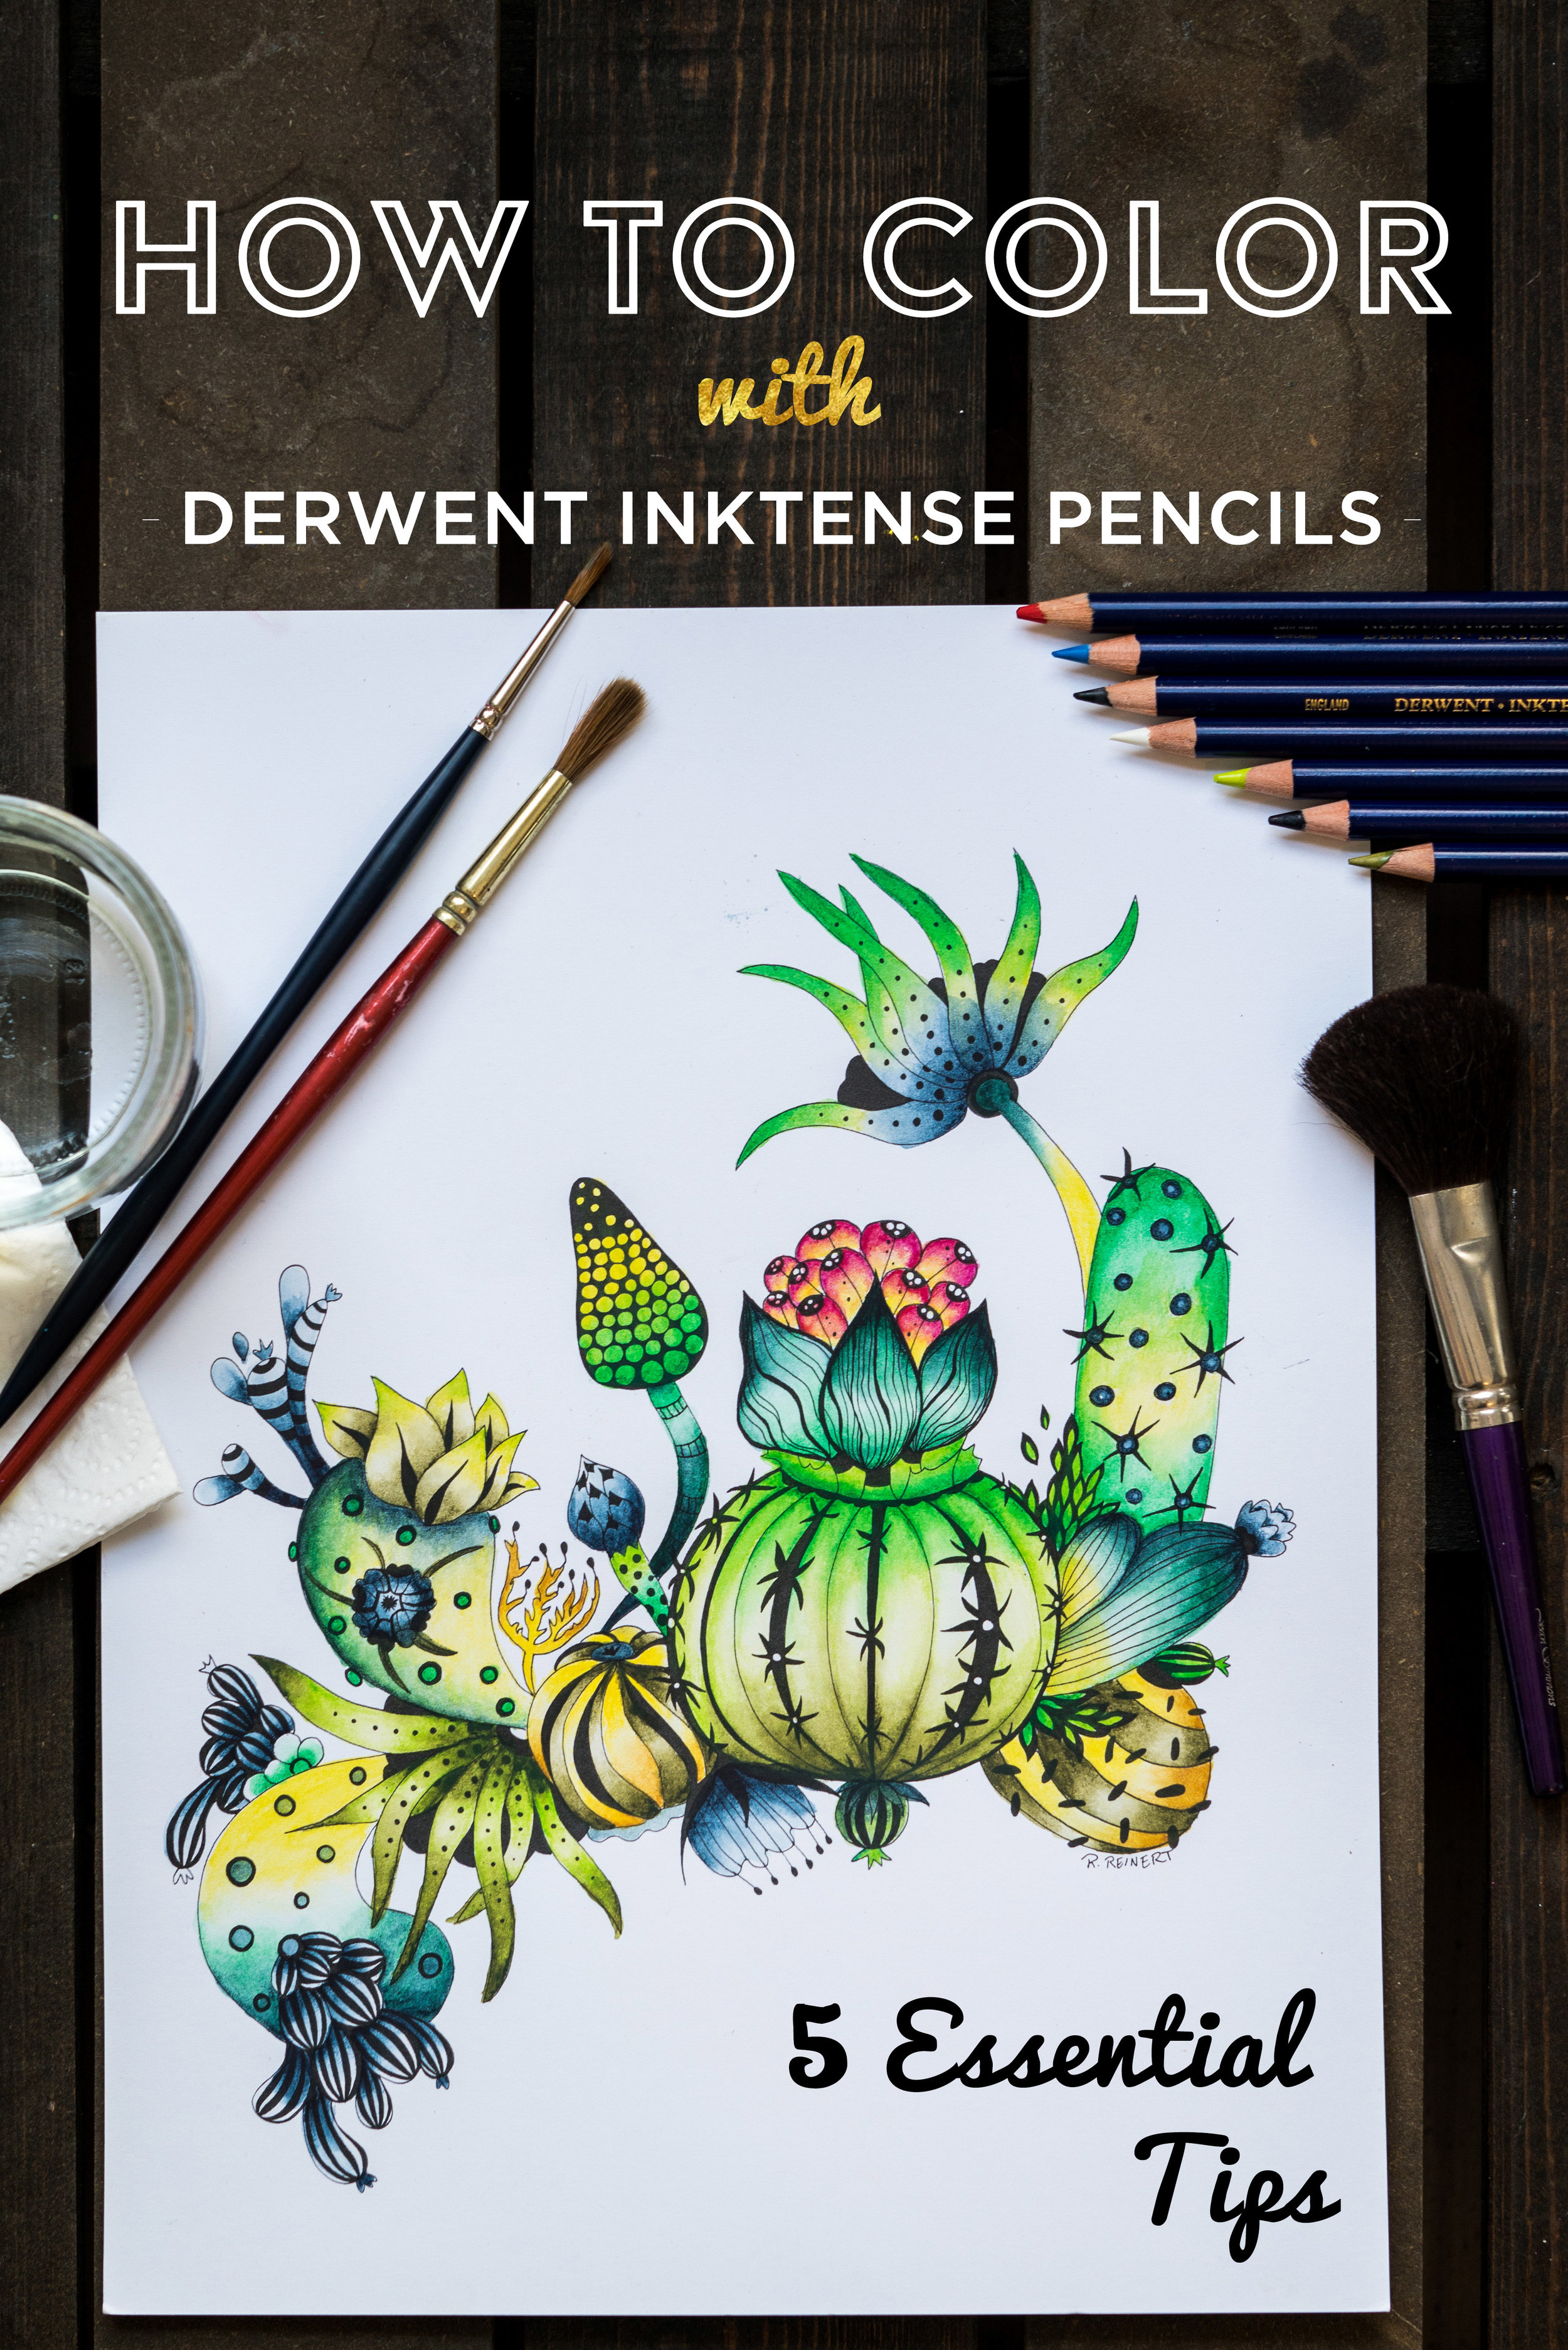
Don't be mistaken these are NOT watercolor pencils. They are actually India Ink and are permanent. Beyond that, they are incredibly vibrant and so versatile - you can layer on top of them without lifting the color, plus they are travel friendly! Here are my essential tips for using Derwent Inktense pencils.
To watch the complete tutorial on how I created this look, click here
1. Use a Water Brush
As a painter, I am pretty comfortable with and prefer working with regular brushes. But I often travel and sometimes just don't want to deal with the mess of paint palettes or cleaning brushes. I suspect many of you may feel the same way. I decided to try a Kuretake water brush pen to use with my Inktense pencils, and will never go back. It takes a little bit of getting used to squeezing out the right amount of water, but it is the most convenient thing imaginable. Inktense pencils + a water brush = zero clean up!
The Kuretake brush pen also has a cap so it protects the bristles which is perfect for traveling. I've also used the Derwent water brush, but it hasn't worked for me unfortunately because it leaks too much water.
TUTORIAL: Watch my step-by-step how to video on how to paint a cactus scene from Botanical Wonderland. Head over to Coloring Master Class to watch my free Inktense tutorial!
2. Make a Color Chart
Because Derwent Inktense pencils are so vibrant once activated with water, you'll want to know what your colors will look like before you go crazy burnishing your coloring. Let's just say I found out how much I LOVE Deep Indigo and use it as my go to shading color! It's hard to know how the colors will blend together until you do a test swatch. They are magical in that way. ;)
3. Blend Analogous Colors
This is true for painting in general, unless you're aiming to create brown. Analogous colors are next each other on the color wheel and will blend nicely. You can blend other colors close to each other on the color wheel as well, but not across.
4. "Activate" The Lightest Areas First
This really is important. The brush can carry colors into other areas once you "activate" (add water to) it with water. In order to maintain your highlights, or the white of the paper, start with a clean brush in that area work work your way outward into the darker areas. Use a spare sheet of paper to clean the brush on after picking up color so it doesn't contaminate the next section.
5. Wet One Area at a Time
Watercolors dry quickly, so it's best to activate one area at a time as you go. It's also best not to use Derwent Inktense pencils for a background, unless you're going to use a large watercolor brush that can cover it in a few swipes.
Remember, with Inktense, the color will dry permanently. This is a good thing so that you can add more layers with water and it won't lift the color later.
Have you tried Derwent Inktense? Please leave any comments or questions below.
Happy Coloring!
- Rachel Reinert
Products I used to create this: Kuretake (water brush), Botanical Wonderland (coloring book), Derwent Inktense pencils